

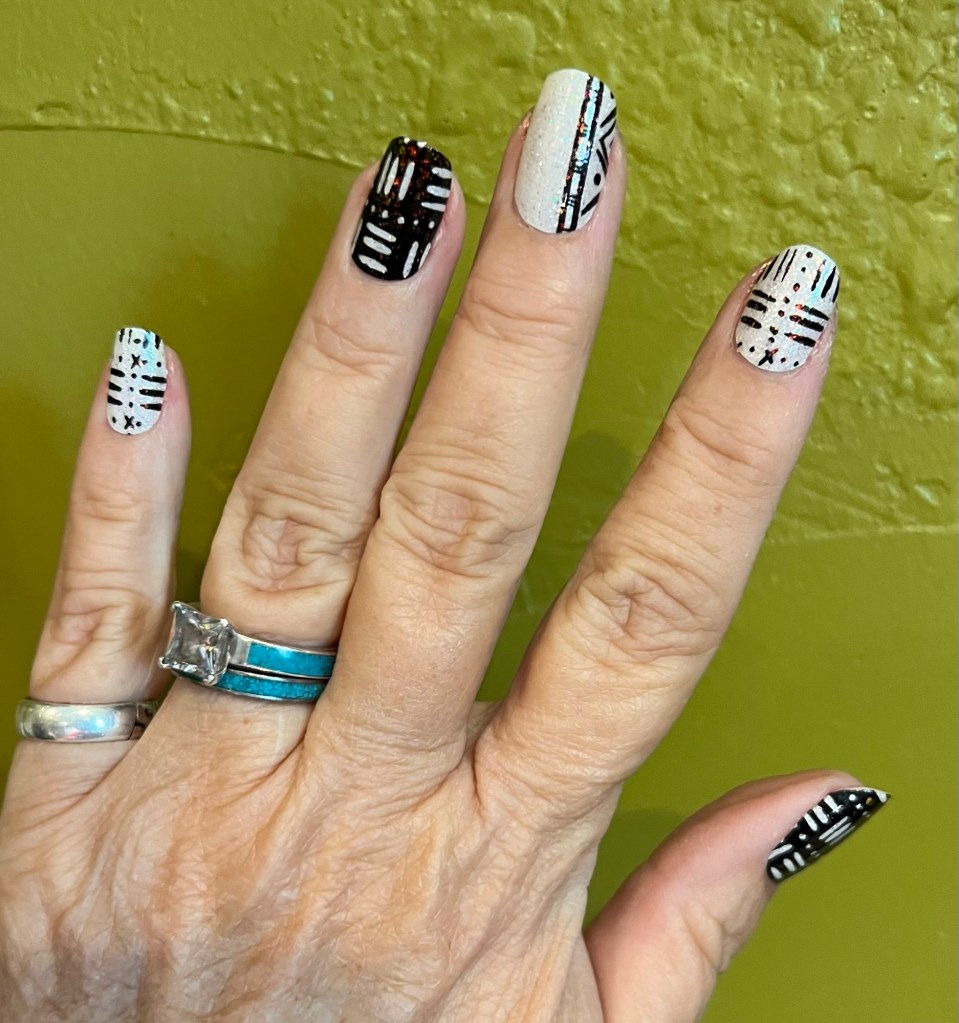
I wrote up instructions for my group of Color Street nail strip enthusiasts that I thought might be useful for some of my other friends who enjoy medium to long nails. Feel free to share by attribution and link.
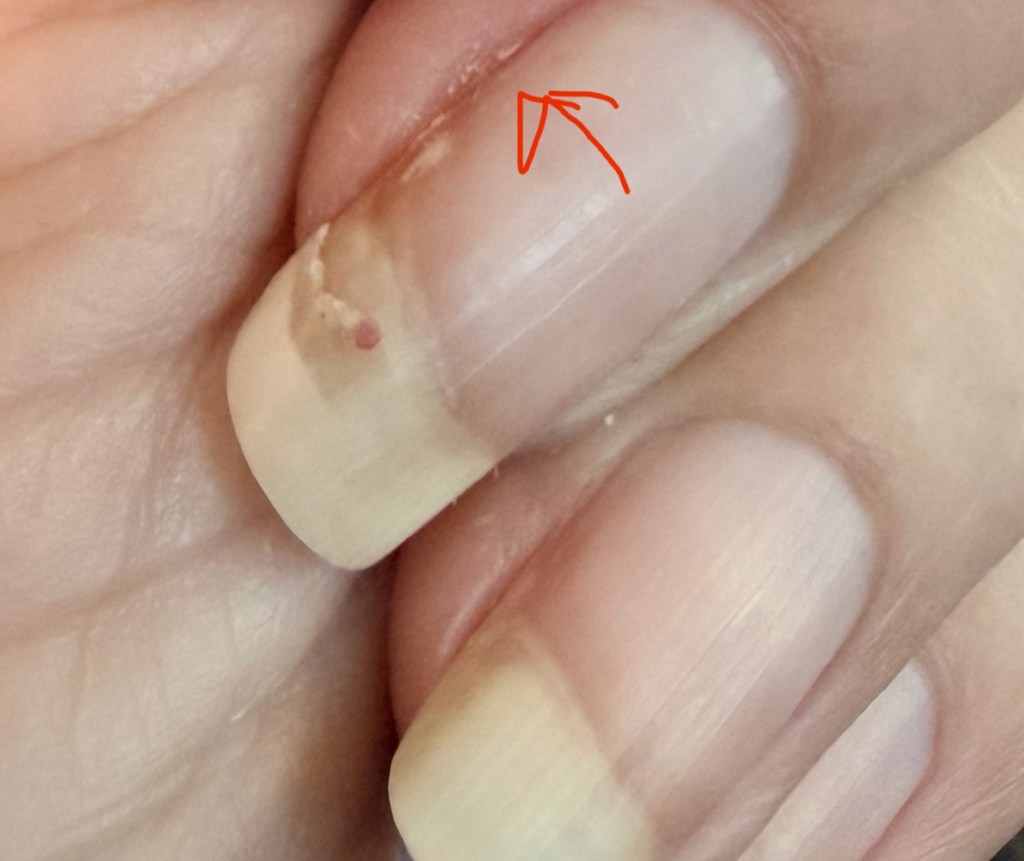
No matter how strong fingernails are, accidents do happen. Sometimes nothing can be done, but more often a nail just breaks a little. Many times, unexpected pressure can cause a little break below the quick that you’d like to have grow out to keep your healthy nail bed covered.
Warning: If you break a fingernail and it bleeds or shows signs of infection, please get it looked at and treat it as a wound, not an inconvenience. Keep it clean and protected so it can heal. Don’t polish an infected nail or cover it with a press-on.
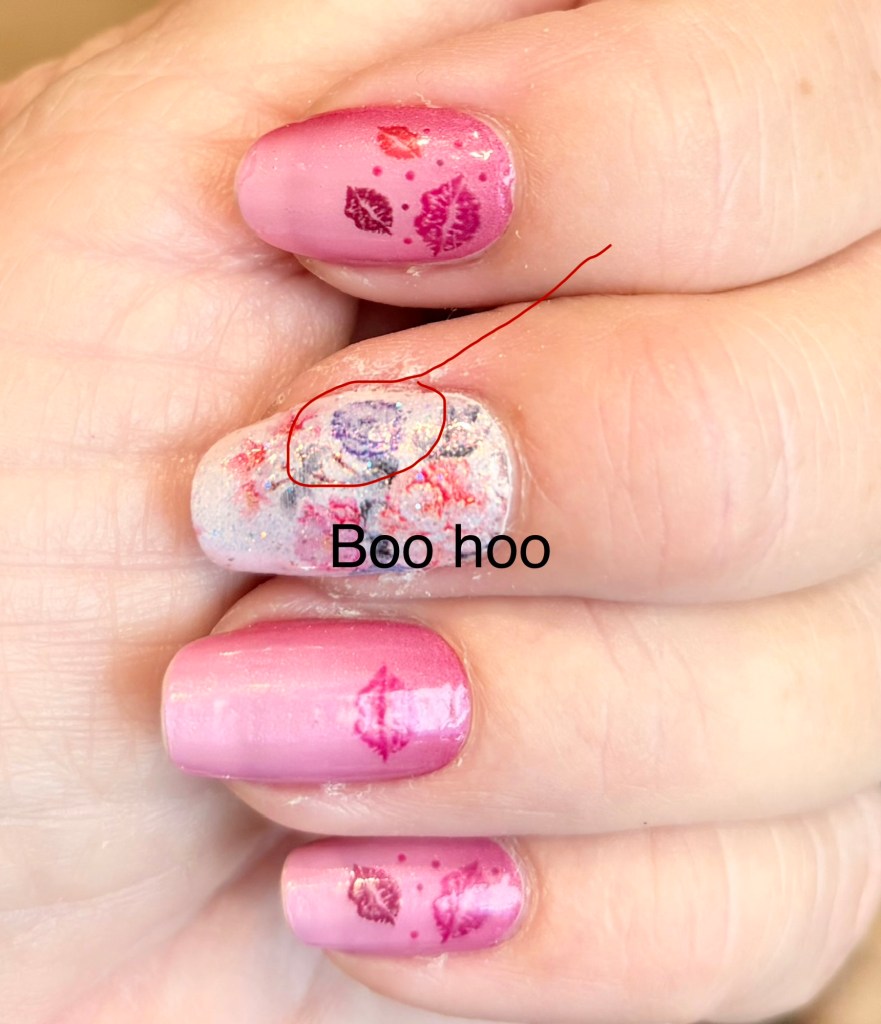
So your nail is healthy but broken and you want to grow it out a bit. That happened to me a couple of months ago (February kidding from the photo below). I looked down, and a straight cut on my left middle finger looked back at me, metaphorically. Of course, all my other nails were looking good. The break was about halfway between the quick and the cuticle, so removing the rest of the nail would have hurt and perhaps damaged my nail.
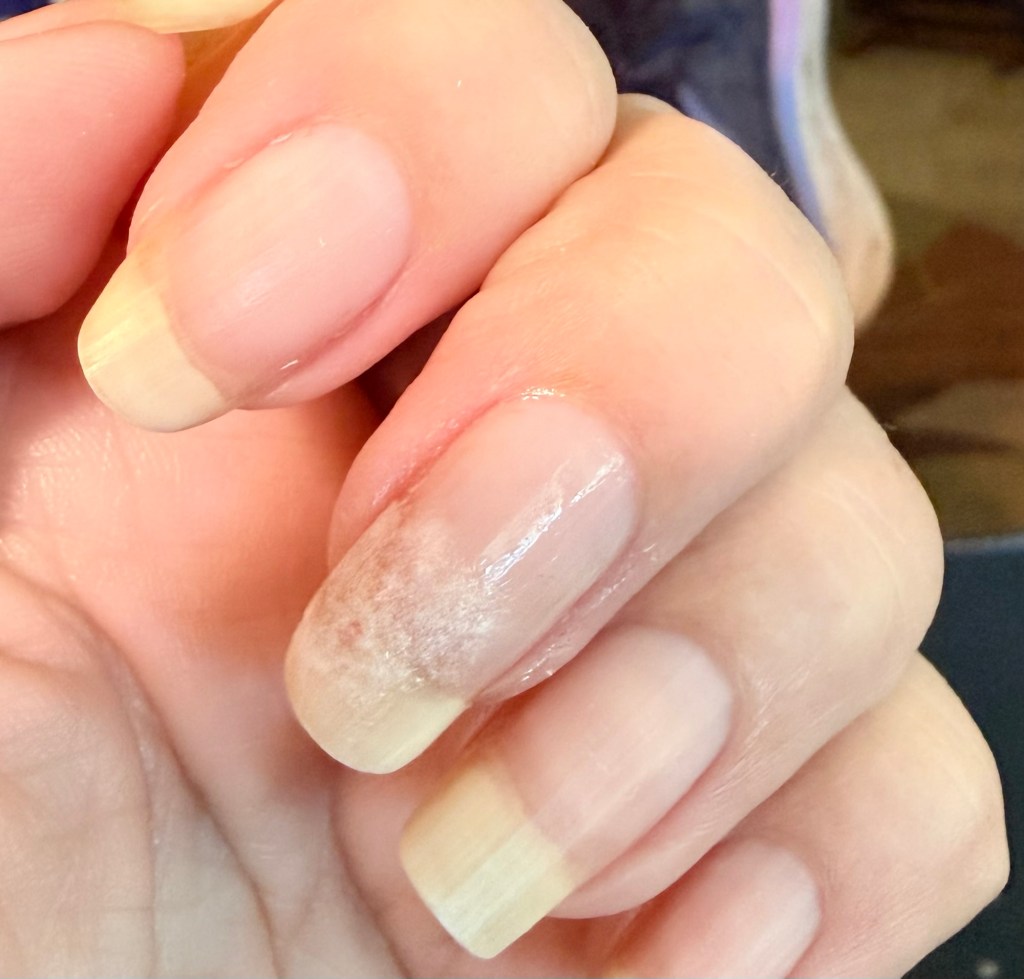
So, next time I changed my nail color, I protected the break with regular tea bags. You’ll find different kinds of paper holding tea, but they are all little meshes, and those meshes make them strong. They also allow nail polish to soak through them. And one bag lasts months, so you don’t waste tea.
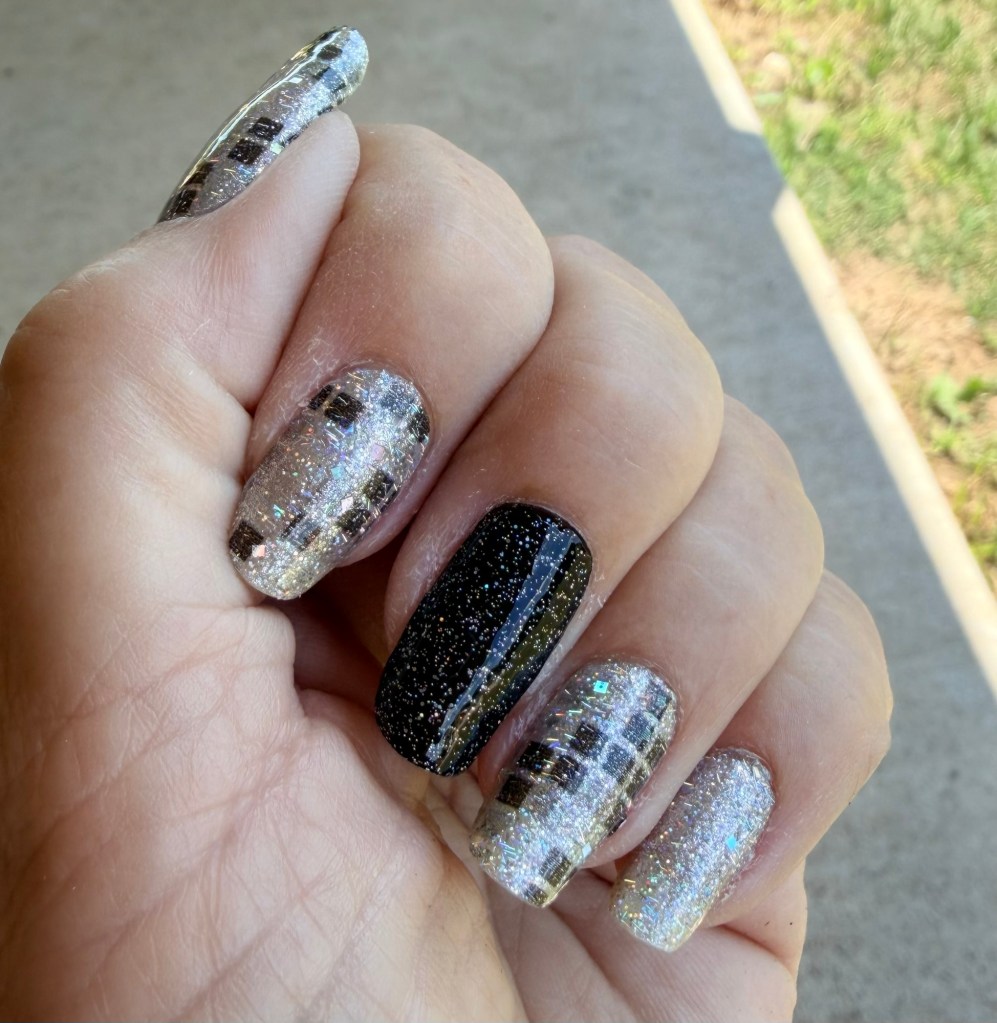
Example
This nail was broken WAY below the quick, as shown above, too) but I’ve managed to grow it out to where it could be clipped. But, once it grew, the tea bags have held like iron. And it’s not very noticeable. The trick has been TWO layers of tea bag.
One layer works fine in many cases, especially on pinkies or if you don’t type and ride horses a lot (me). That’s why I do the following.
Method
2. Tear (do not cut) two pieces of tea bag that will more than cover the break. You don’t want it huge, but large enough to strengthen the broken area. If the break has grown out a bit, one piece should be able to wrap around. The edges will be a little jagged, which seems to help disguise the patch.
2. Put a layer of clear base coat on the nail.
3. Immediately place one of the tea bag pieces centered over the break. Be sure it covers the broken edge, where the patch gets the most pressure.
4. While it’s still wet, press the patch down to make the break area smooth. Yes you’re messing up the base coat, but it gets covered again.
5. Let dry.
6. Add another coat of base coat and place the other layer on it (this should not exactly match the first one, to make it smoother). Press it down. Make sure the tea bag is on smoothly.
7. If the break has grown above the quick, add a bit of base coat under the nail and fold the overlap under and smooth. I press it down with a nail stick. You don’t need much polish, and try to keep it off your finger—not easy.
8. Let it dry.
9. Add one more base layer to smooth the nail.
10. Let it dry.
11. Finally, you can put your strips on or paint your nails.
12. Then add topcoat.
Whew. This sounds more complex than it is. And it does take a while to do the drying. But by gosh, that repair sticks. I often find it hard to remove the tea bags when I reapply!
Hints
I find that when the break is growing out, the repair can loosen, especially for the first few weeks. The break may even get a little bigger. Don’t give up! The layers of mesh and polish usually hold well.
Once past the quick, repairs hold really well. I type for a living, pull weeds, and mess with horses, and I have few problems.

If a break covers more than half the nail, it’s less likely to successfully repair. Try to buff the area smooth before even trying.
Usually I just grow a break out long enough to trim smoothly, then shorten the rest of my nails, but it’s been fun to grow this one out.
Additional ideas are welcome; this is just what works for me with fairly strong nails. Repairs are harder on weak nails or ones damaged by gels, dips, lacquers, etc. This I know from experience!
